Add a new sensor
You can add new sensors to a system by going to the system, click the "+ Add" button and choose "Add sensor" in the menu.
Add the sensor's serial number using one of the two methods below. We recommend giving the sensor an alias and a suitable description. An image of the installed sensor can be added later from the Edit sensor page.
You can also add some tags to the sensor as explained in this article: Tags
Only admin users of the system can add sensors.
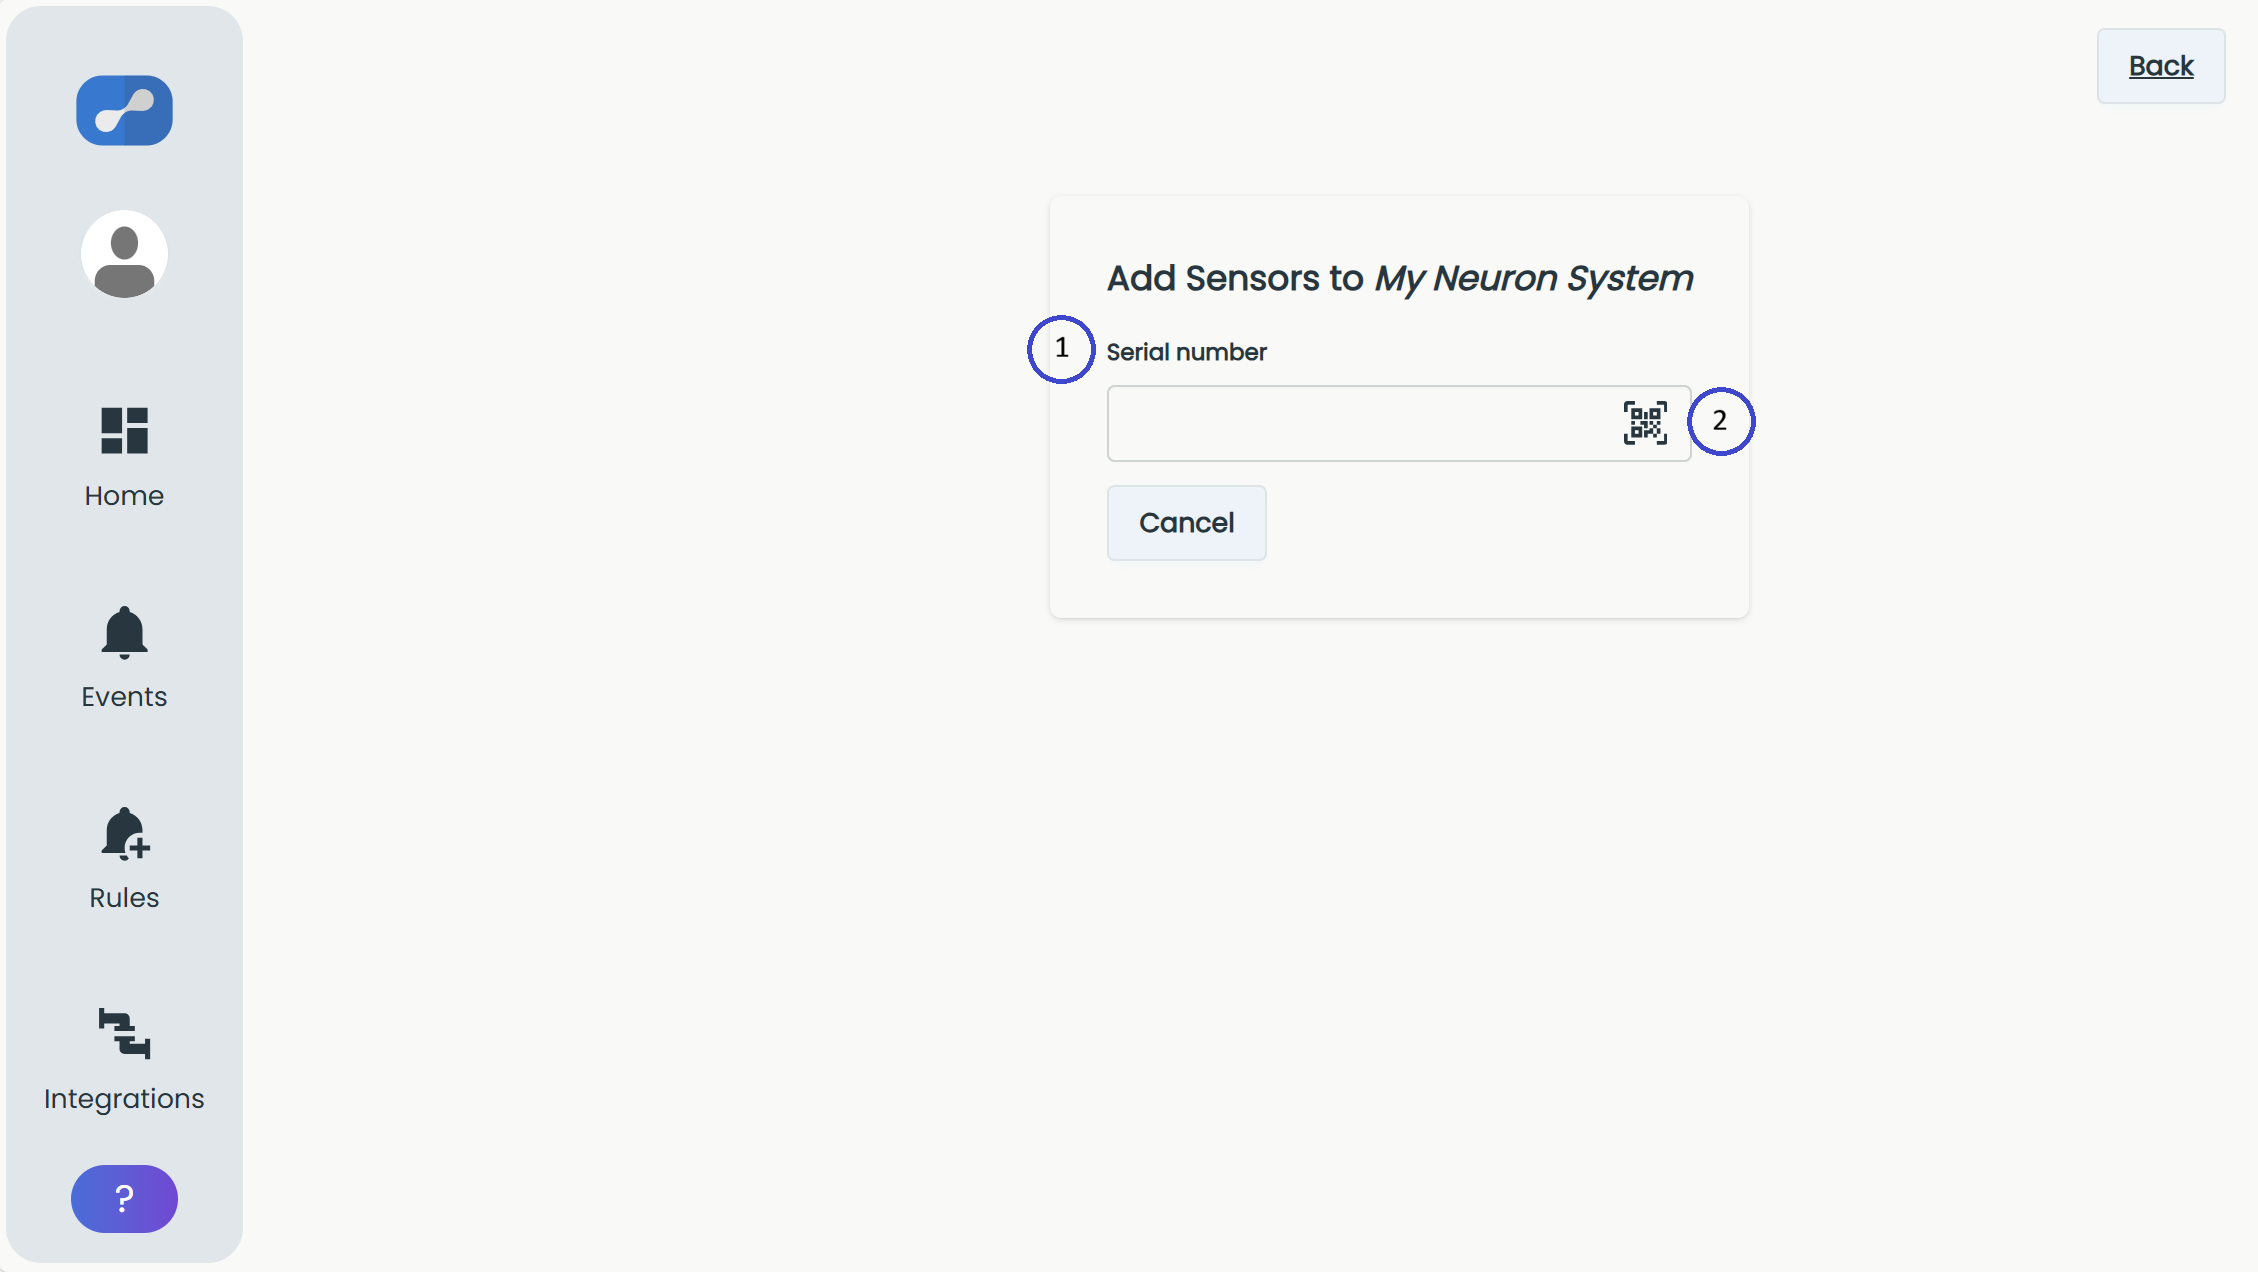
Add a serial number in one of two ways:
- Insert serial number into the field
- Scan the QR code on your sensors
After inserting a serial number, the sensor is added to the registration list. Click the registered sensor (see red arrow) to expand its options:
- Alias - Optional name of sensor
- Description - Optional information about the sensor
- Tags - Used to group the sensor
- Remove - Removes the sensor from the registration list
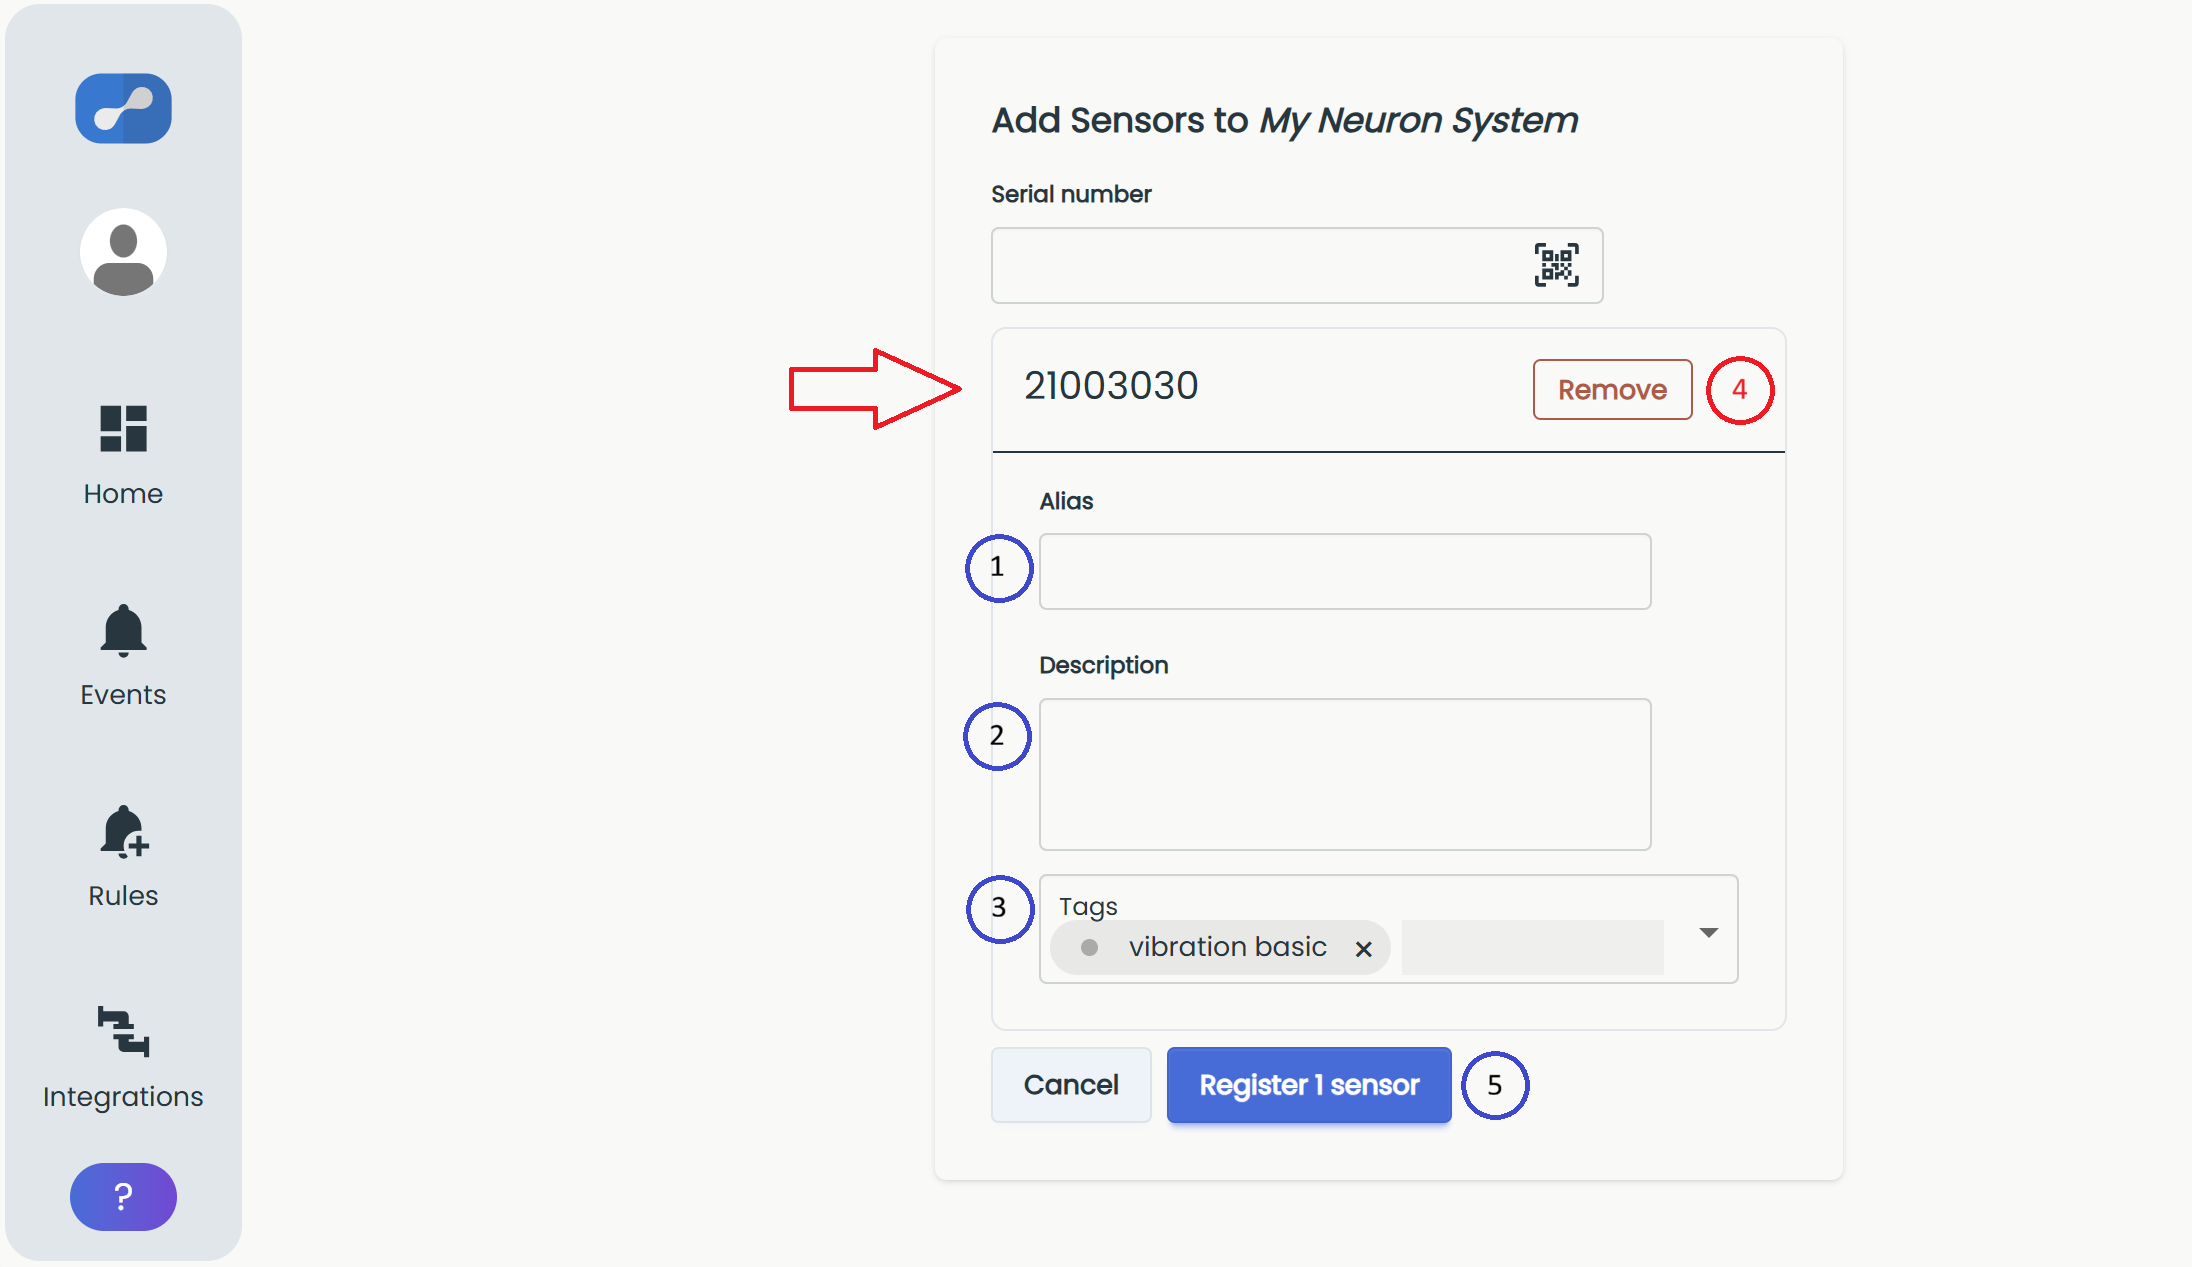
- When pressing "Register x sensors" the app will attempt claiming the devices
If all registrations are successful, you will now be redirected back to the dashboard and the new sensor will appear as a tile next to the gateway.
Newly added sensors need to be verified in the cloud before they are fully functional. This usually happens instantaneously or within a few minutes.
For verification to succeed, the sensor needs to send a data packet through a gateway registered to the same system. Make sure the gateway is powered and online, as well as keeping the sensor within range of the gateway.

While verifying, the sensor tile shows a "Verifying…" status (top). Once verification succeeds, the tile displays live data and the sensor is online (bottom).
.png)