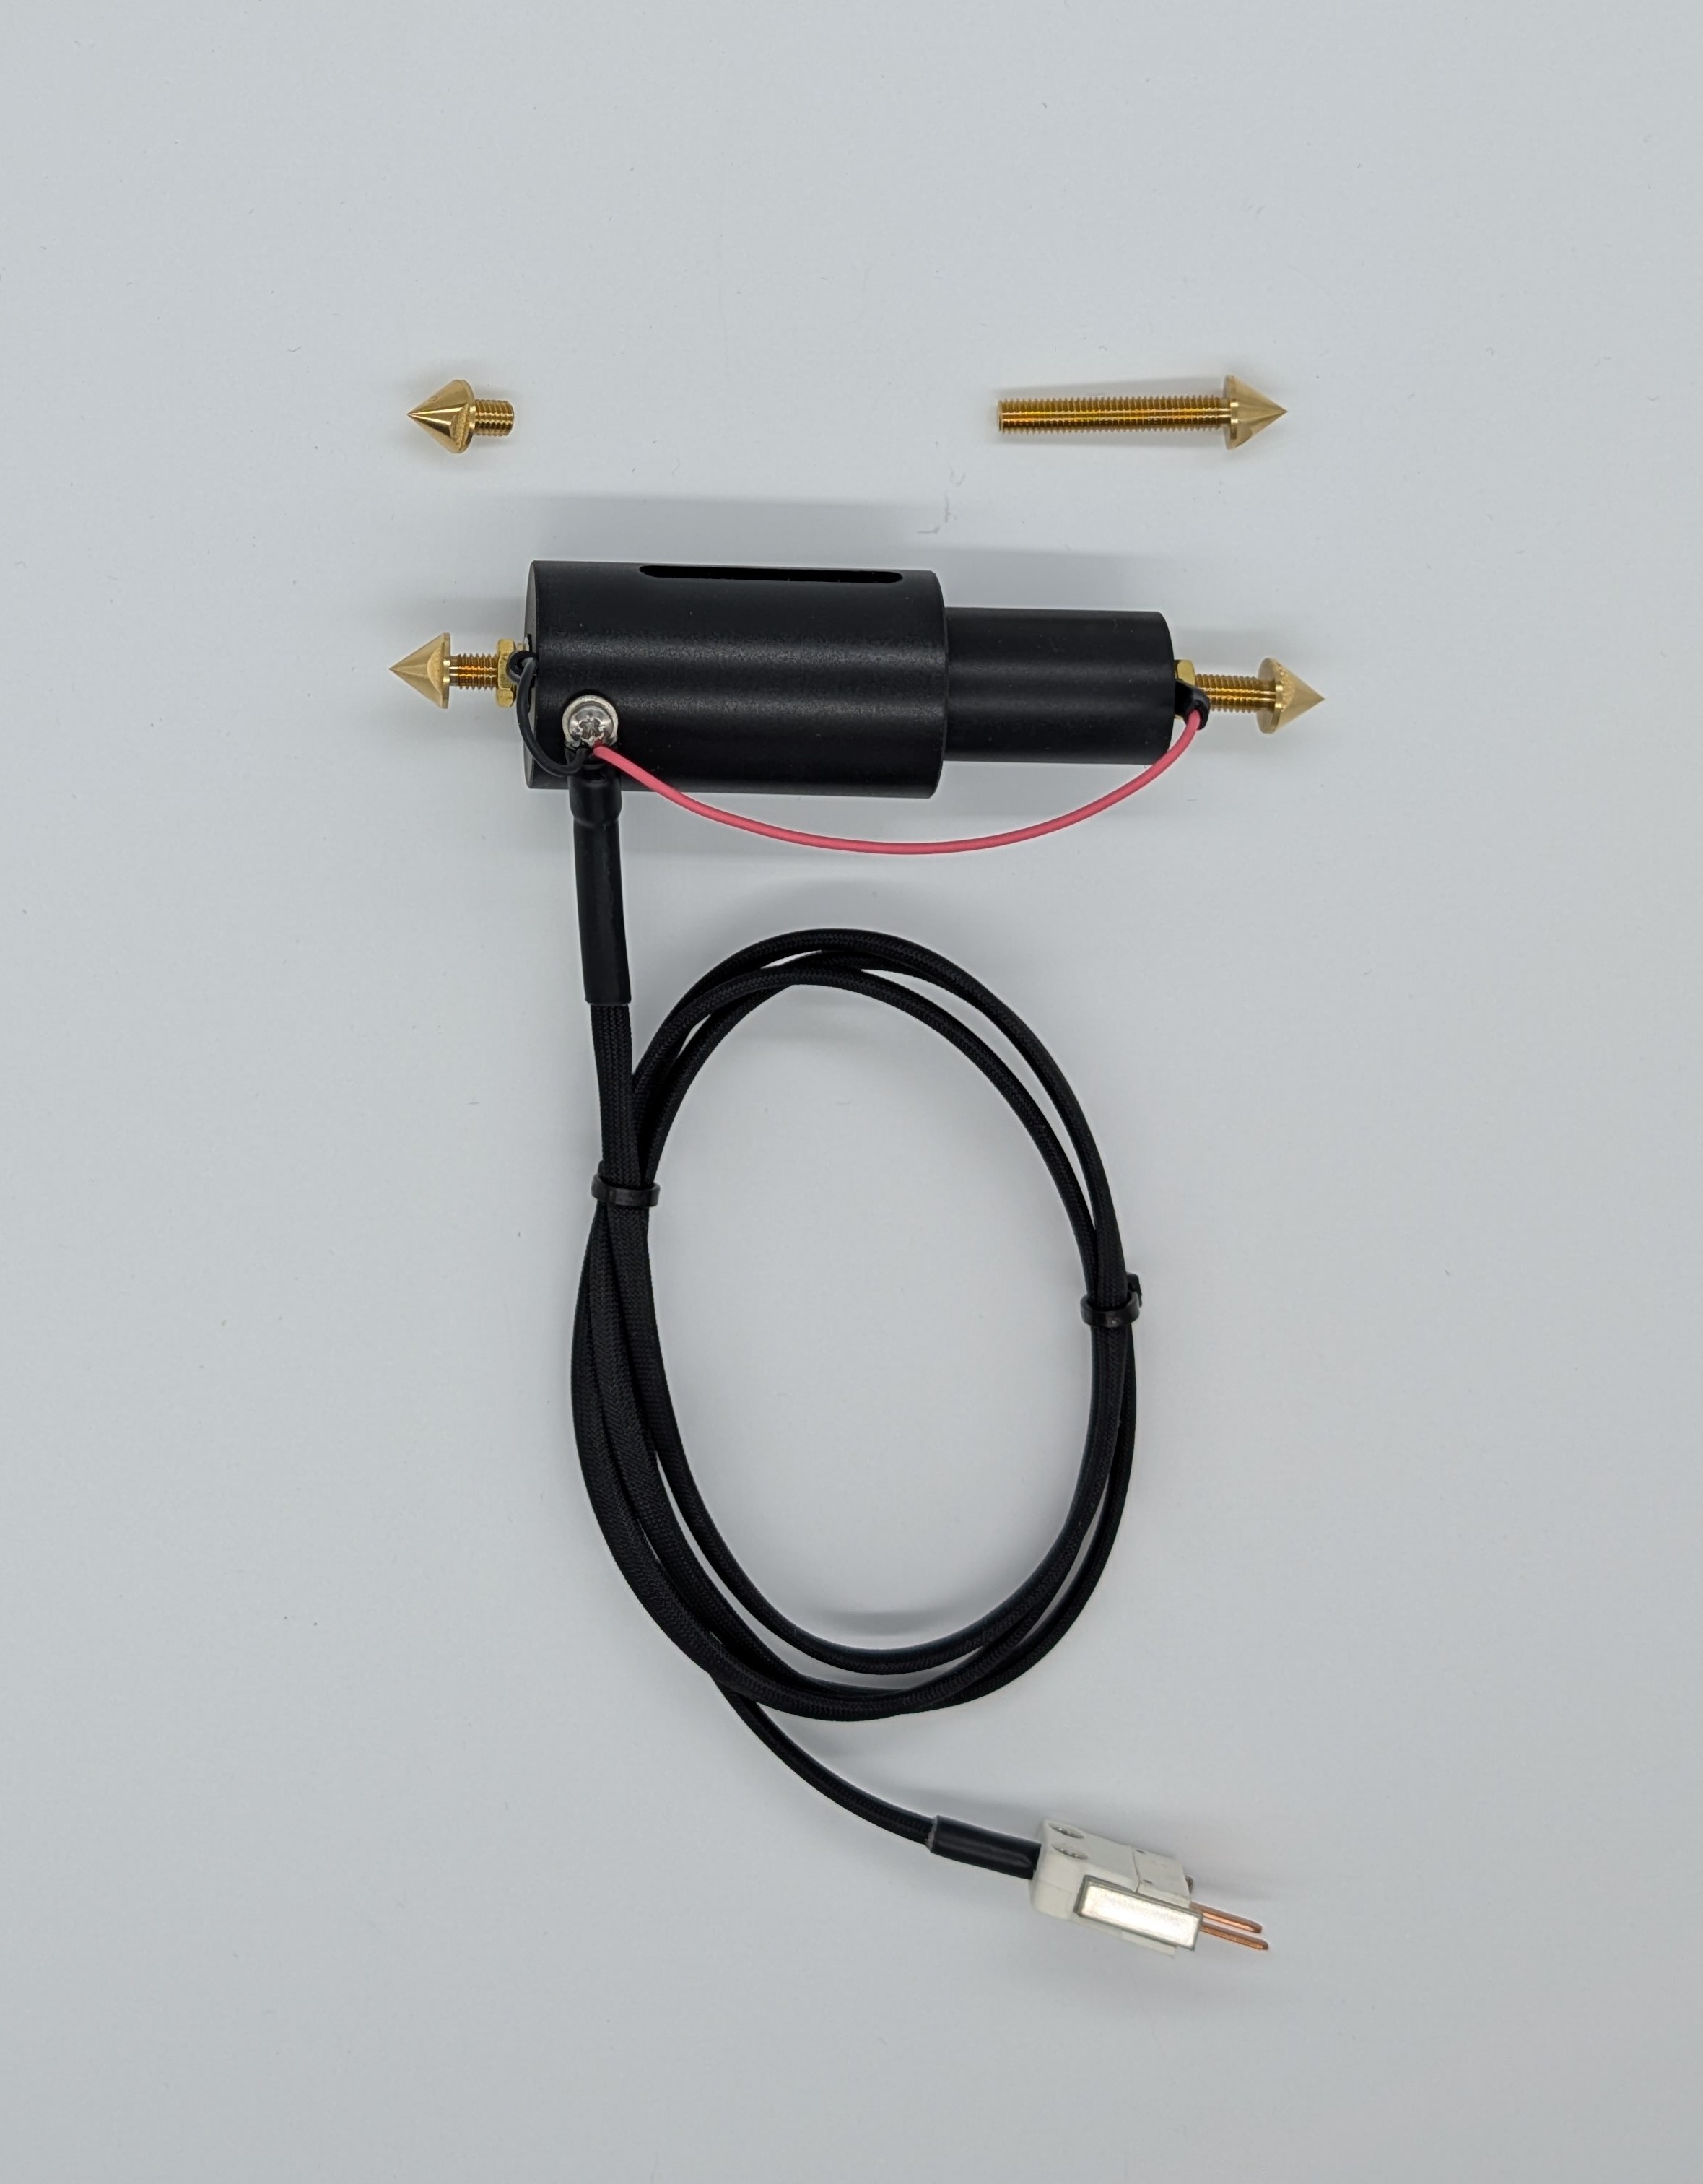
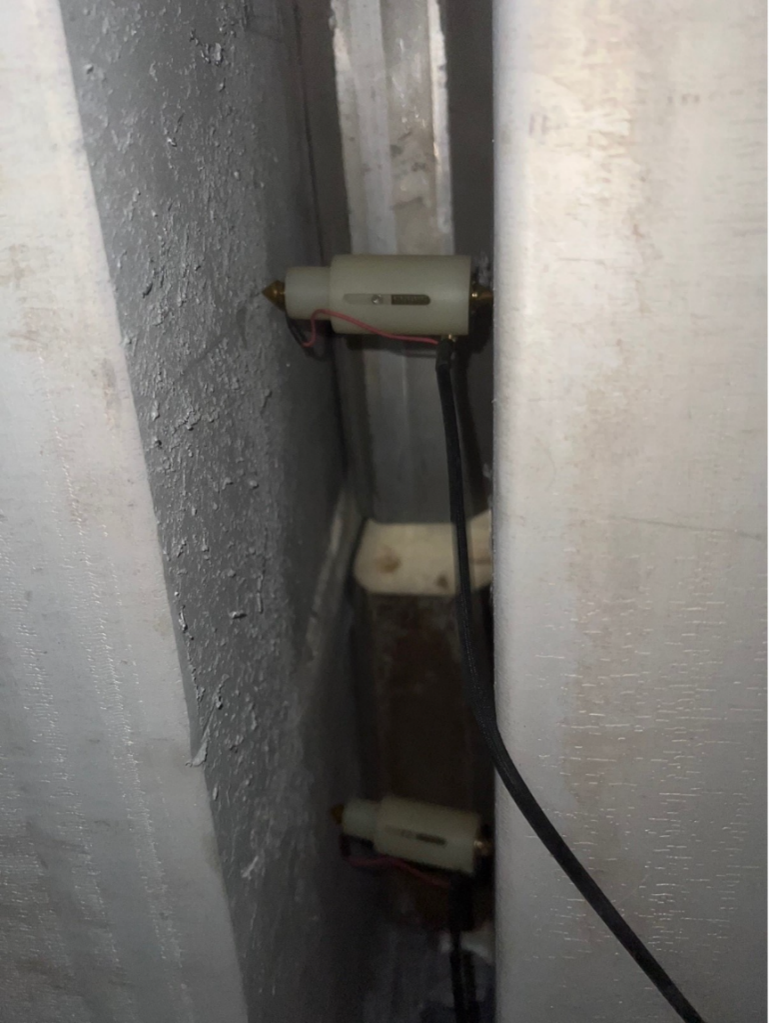
Installing Neuron Wedge Monitoring Clamp
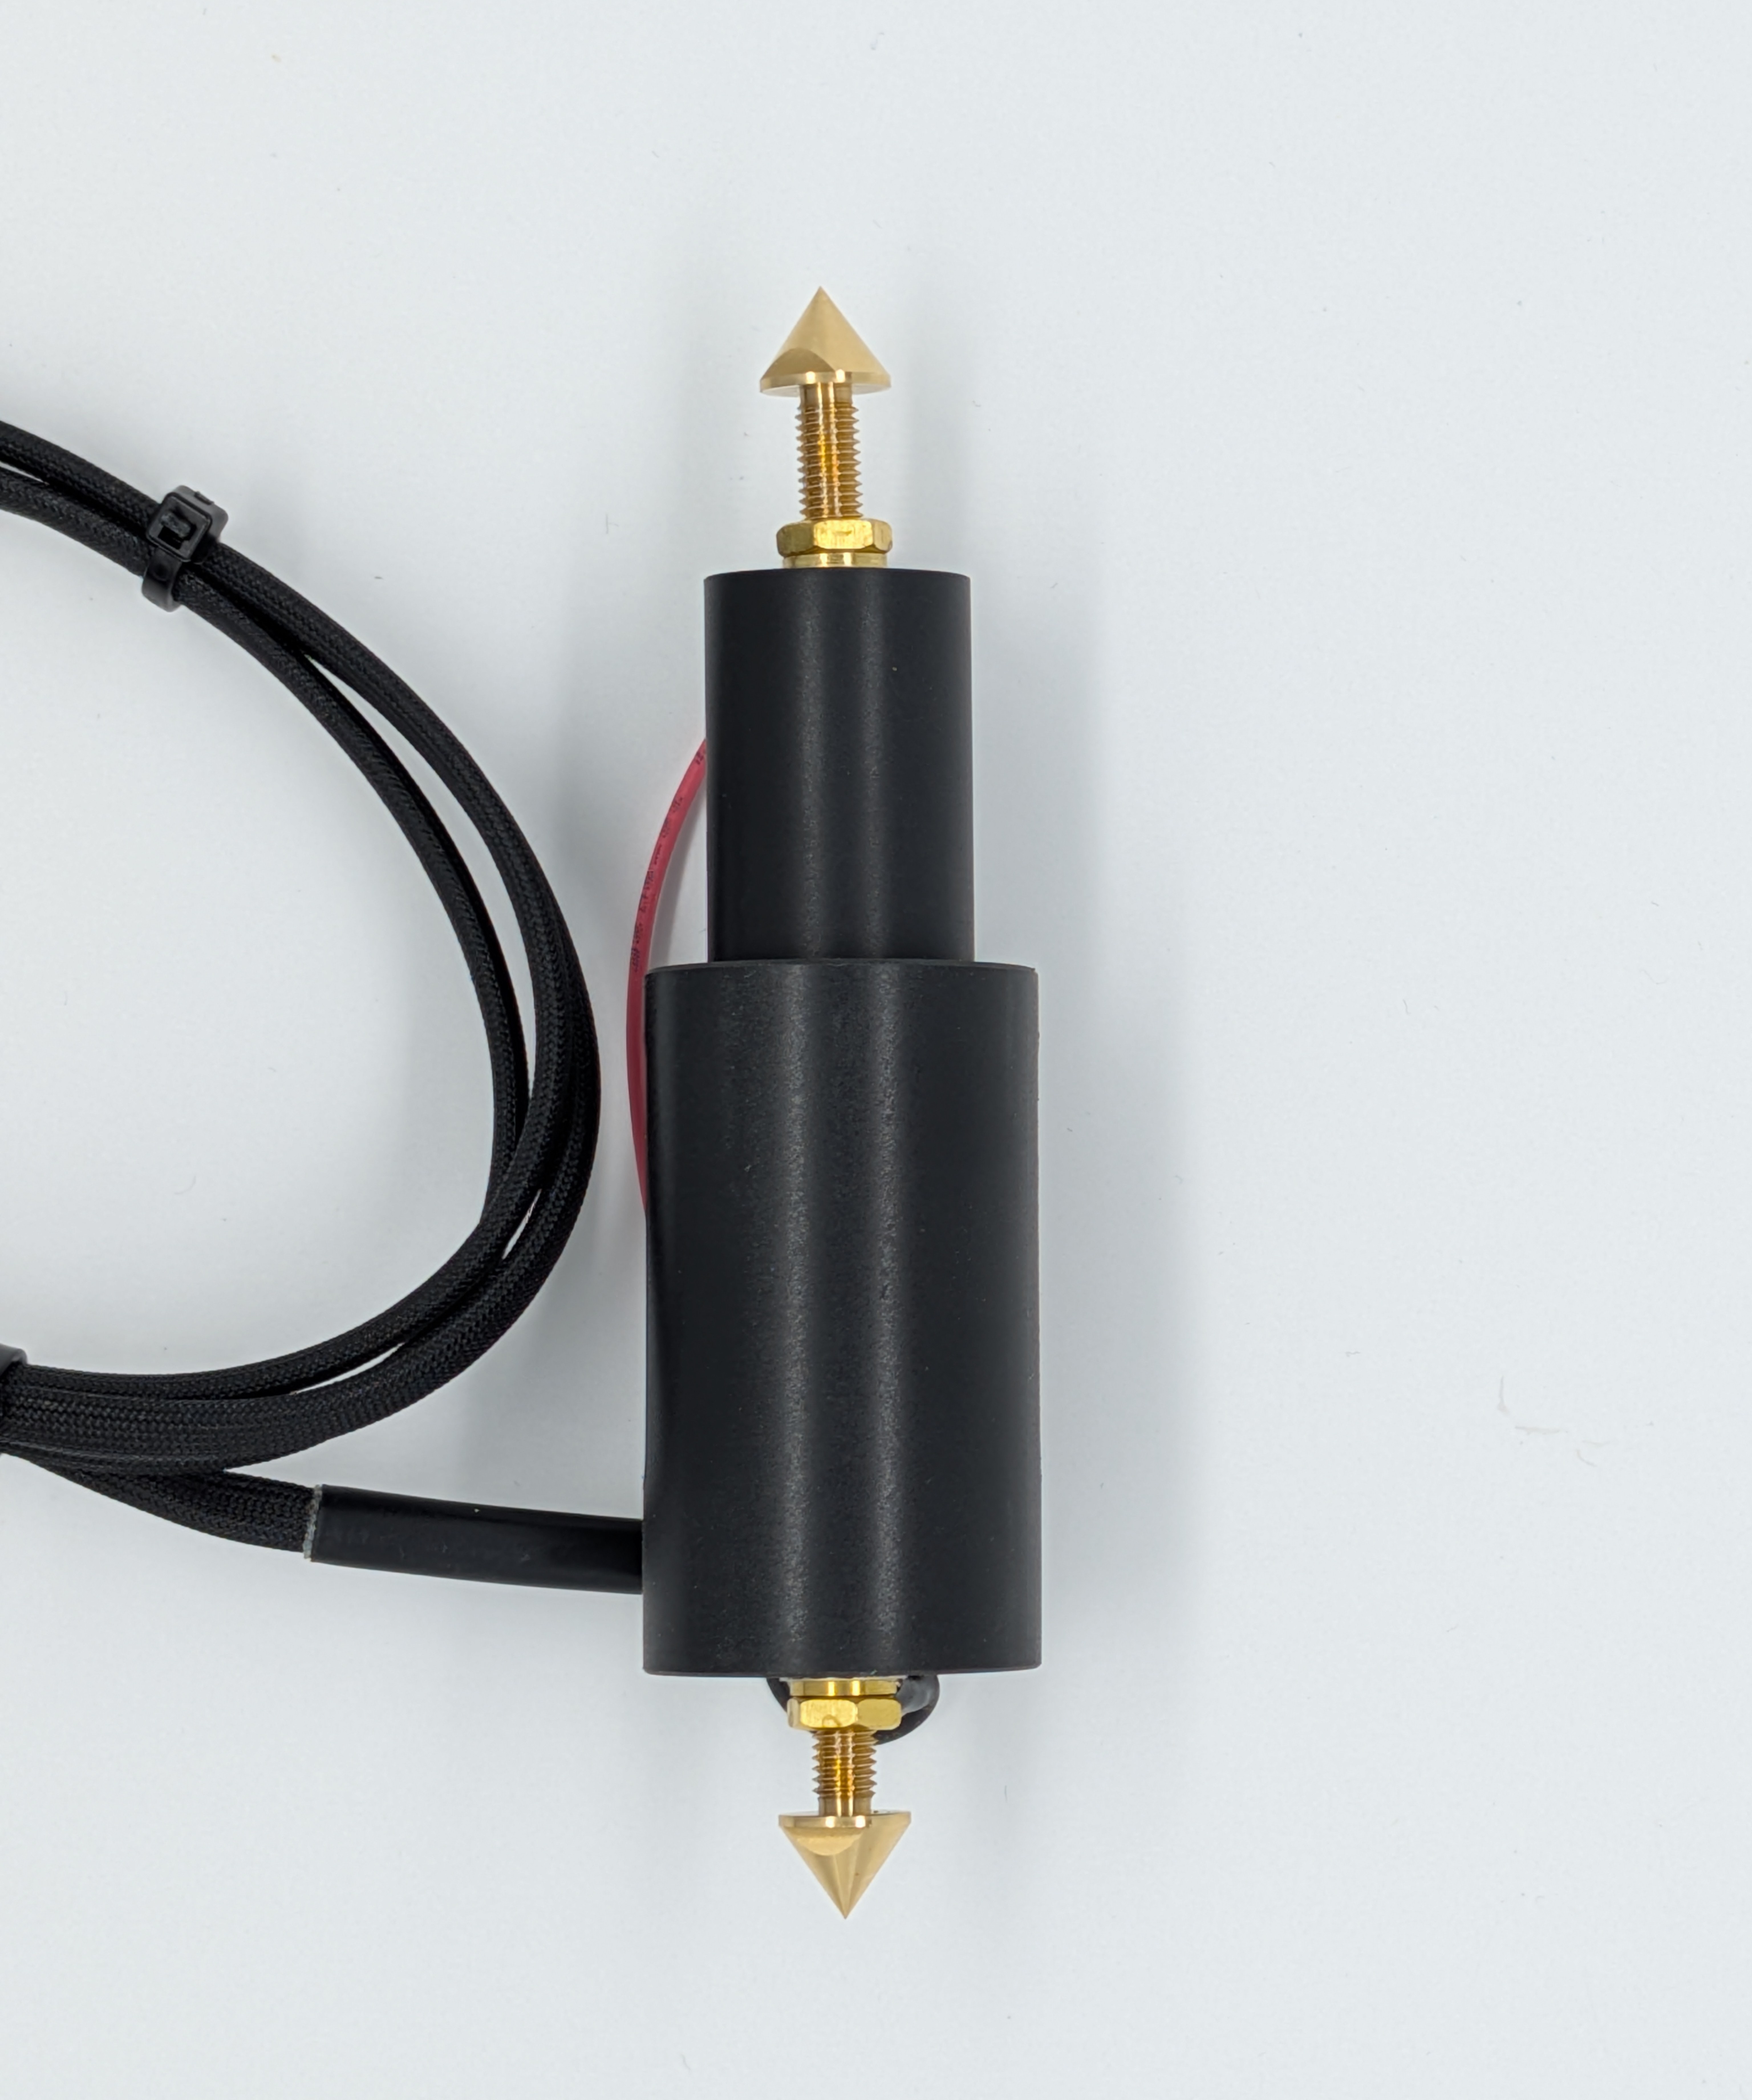
The probe is inserted between the two busbars bridged by the wedge and includes:
• Spring-loaded contact mechanism ensures stable pressure
• Brass spike electrodes that penetrate oxide layers
• Direct connection to a high-precision millivolt sensor
The probe is connected to a Neuron Precision mV sensor, which measures the voltage drop across the wedge every 10 seconds, and the data is transmitted for continuous monitoring.
The Neuron Precision mV sensor should be placed away from direct heat and preferably hanging freely for best radio coverage and temperature exposure.
Adjusting the Length of the Neuron Wedge Monitoring Clamp
To accommodate various distances between busbars, the clamp includes four interchangeable spikes of different lengths. This modular design allows the clamp to support gaps ranging from 77 mm to 155 mm.
Installation Steps:
- Select the Spikes: Choose the combination of spikes that best fits the specific gap of your busbar setup.
- Adjust Length: Insert the chosen spikes to reach the required span.
- Secure the Connection: Once the length is adjusted, the brass nut must be tightened firmly. This is critical for two reasons:
o Mechanical Stability: It locks the spikes securely in place.
o Electrical Conductivity: It ensures a low-resistance connection between the spike and the sensor, preventing false readings.