Add a new sensor
You can add new sensors to a system by going to the system, click the "+Add" tile and Choose "Add sensor" in the menu.
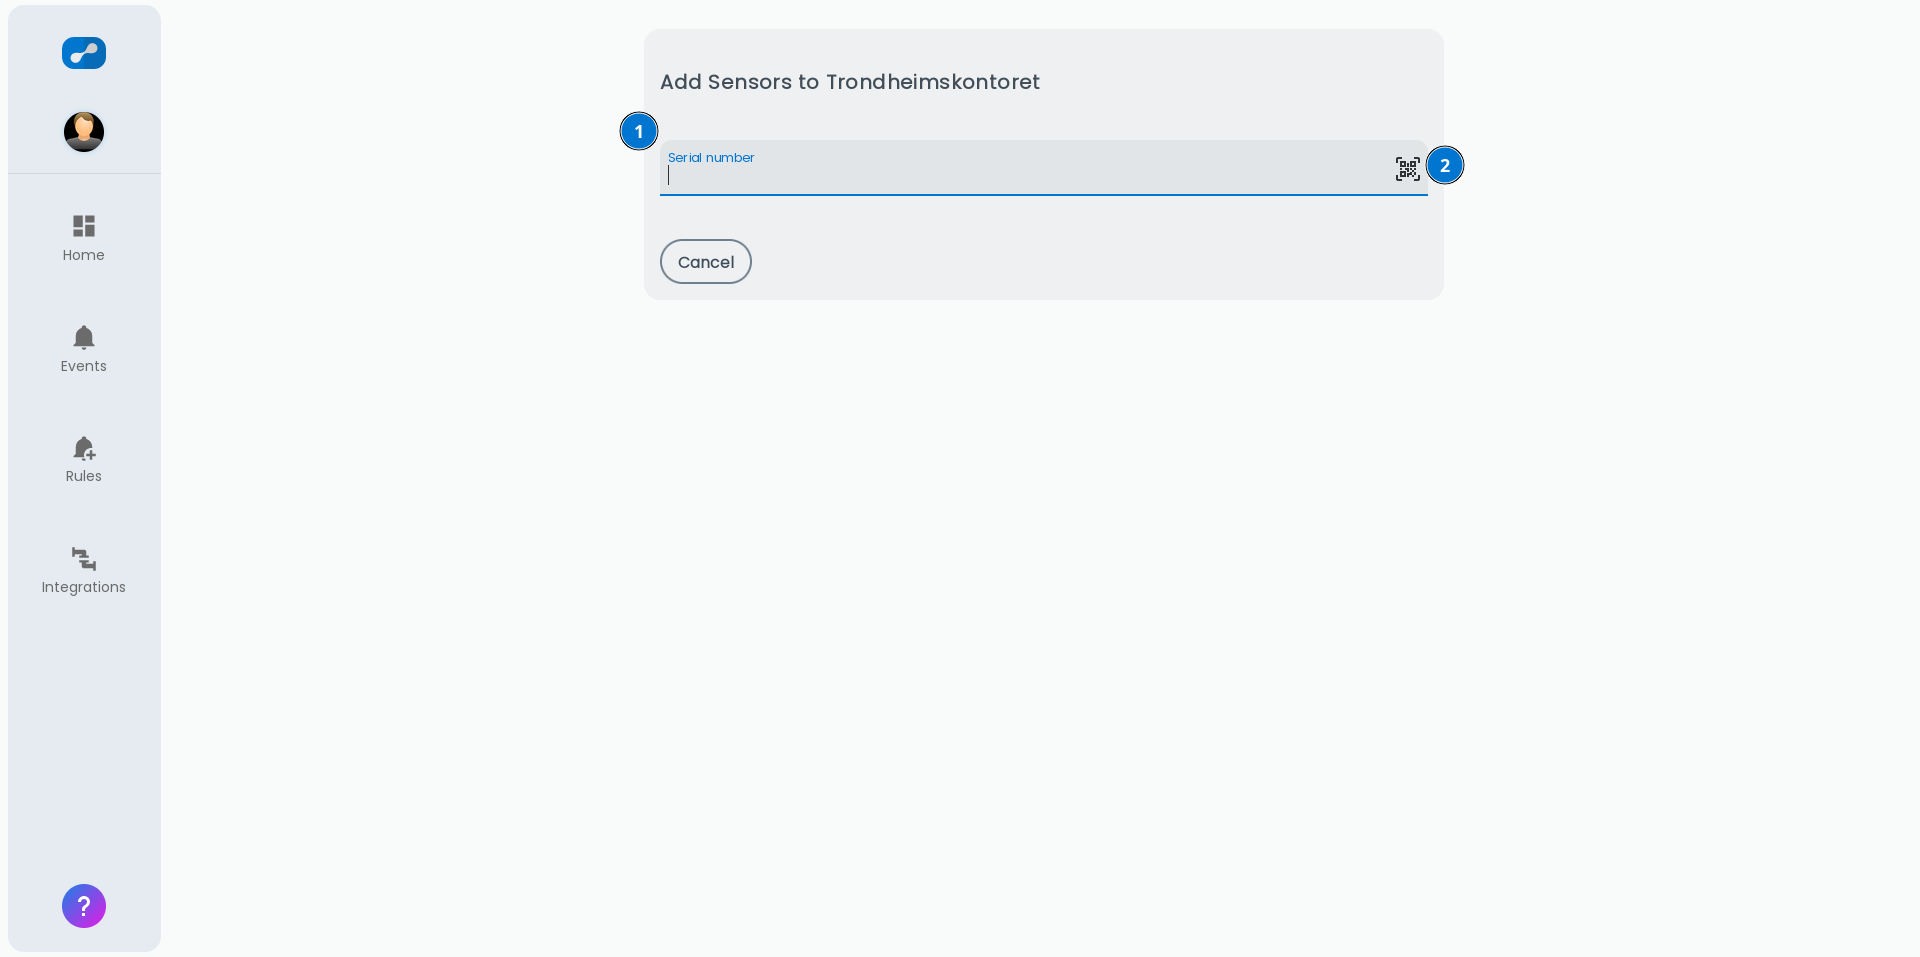
Fill in the sensor ID by either scanning the QR-code or by manually entering it into the field. We recommend to give the sensor an alias, a suitable description and a image of the installed sensor.
You can also add some tags on the sensor as explained in this article: Tags
Only admin users of the system can add sensors.
You can now add serial numers by either
- Insert serialnumber into field
- Scan the QR code on your sensors

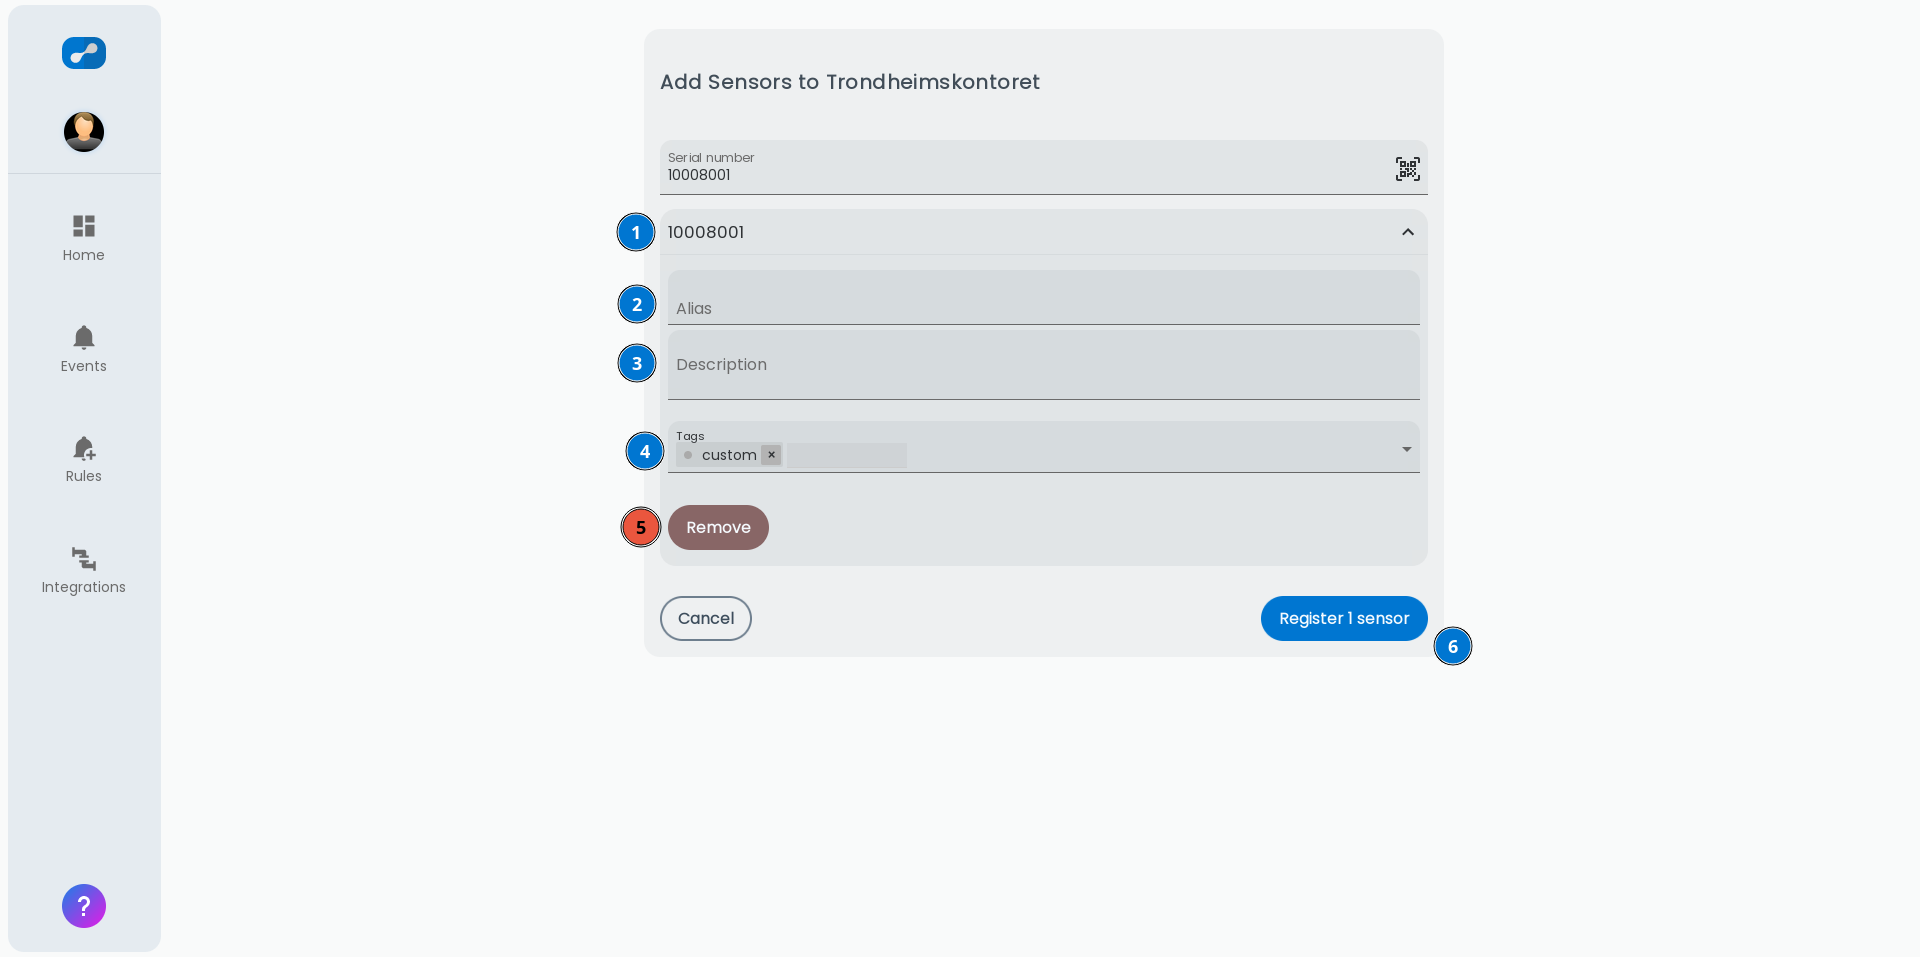
After inserting a serialnumer you will get the option to add
2. Alias - Optional name of sensor
3. Description - Optional information about the sensor
4. Tags - Used to group the sensor
5. Omit sensor from registration

- When pressing Register x sensors
the app will attempt claiming the devices
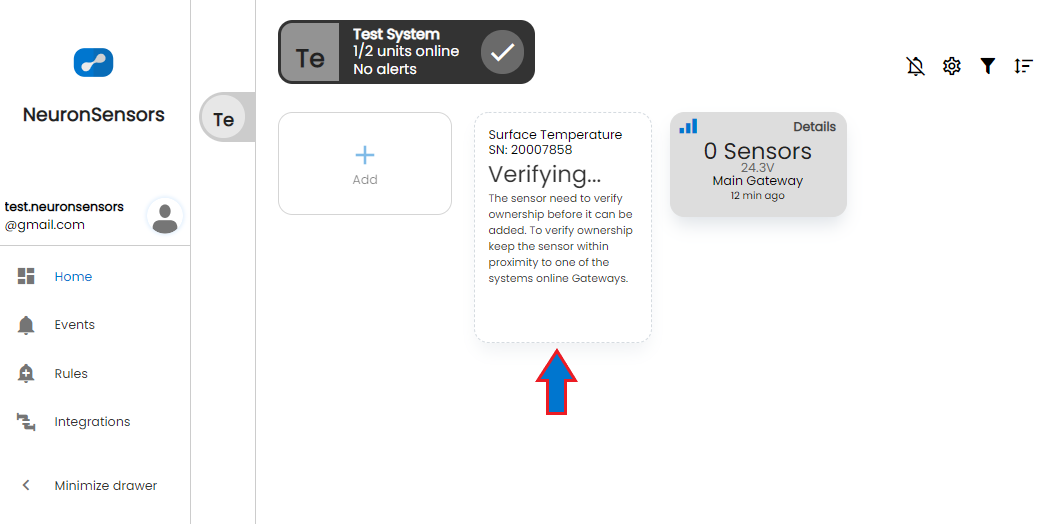
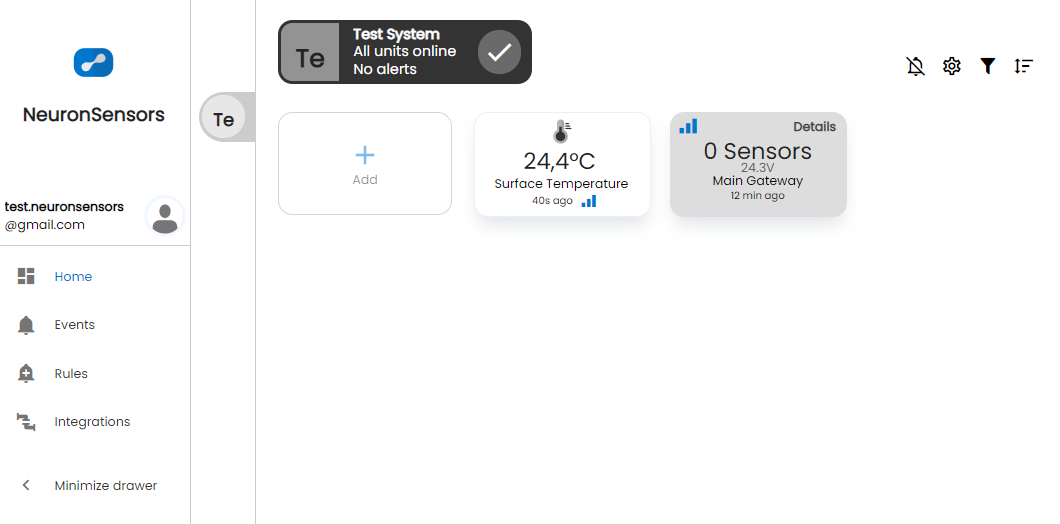
If all registrations are successfull you will now be redirected back to the dashboard and the new sensor will appear as a tile next to the gateway.
Newly added sensors needs to be verified in the cloud before they are fully functional. This usually happens instantaneously or within a few minutes.
For verification to succeed, the sensor needs to send a data packet through a gateway registered to the same system. Make sure the gateway is powered and online, as well as keeping the sensor within range of the gateway.

