Introduction
This device is ready for use and requires only 10 to 32-volt DC and an Ethernet connection with DHCP to operate. Sensor data is sent immediately to the Neuron cloud, which provides low latency. The gateway has a local web interface for configuration of network parameters but has DHCP enabled as default.
The gateway uses secure MQTT to communicate with the Neuron Cloud. For the service to initialize, the following must be allowed through the firewall:
Port 8883 (TCP): Required for secure MQTT sensor data.
ICMP (Ping): The gateway performs a connectivity check (heartbeat) to external servers (e.g., 8.8.8.8) and the broker (n8dd1f2a.emqx.cloud). If ICMP is blocked, the MQTT service will not start.
Port 123 (UDP): Required for NTP time synchronization.
Mounting the Gateway
The gateway is best mounted on a DIN rail in a cabinet where you have access to a ethernet connection and a 10 to 32-volt DC power supply.
Remember to position the equipment so that it is not difficult to disconnect the power supply if necessary.
Gateway Front
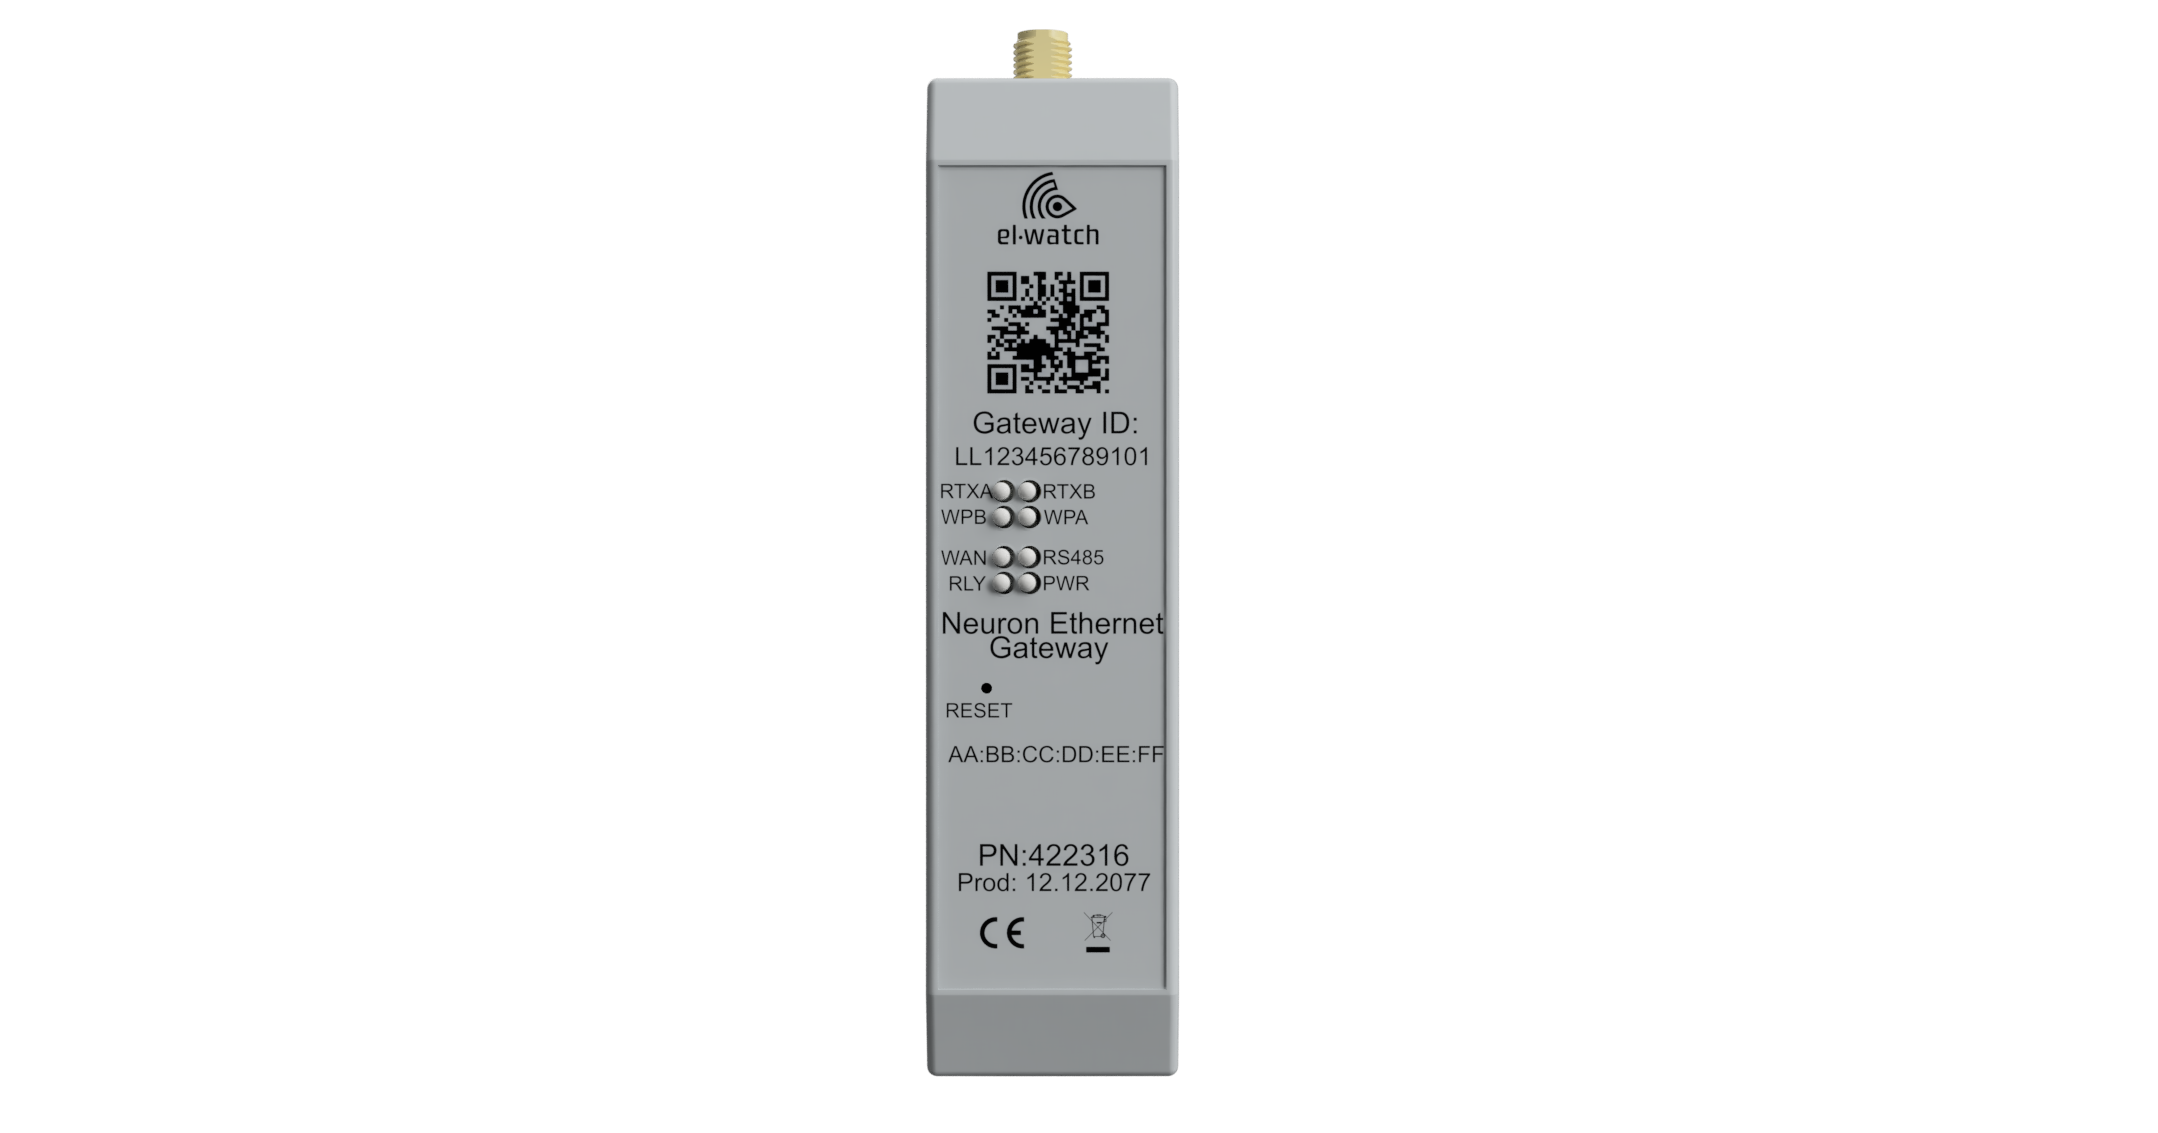
RTXA: This LED flash red every time it communicates with a Neuron Sensor on Neuron antenna #1.
RTXB: This LED flash red every time it communicates with a Neuron Sensor on Neuron antenna #2.
WPB: This LED is constant red when connected to the Neuron Cloud. Flases red when trying to connect.
WPA: Steady yellow when MQTT integration is established. Blinking yellow when attempting to connect or if the ICMP check is pending.
WAN: Active during cellular connection (primarily for firmware updates)
RS485: ON when RS485 is active.
RLY: ON when Relay output is active.
PWR: ON when powered.
RESET: Press this button to restart the gateway. Hold for 10 seconds to reset to factory defaults.
Performing a factory reset will restore the Ethernet Gateway to its initial factory settings with DHCP configuration and the default login credentials.
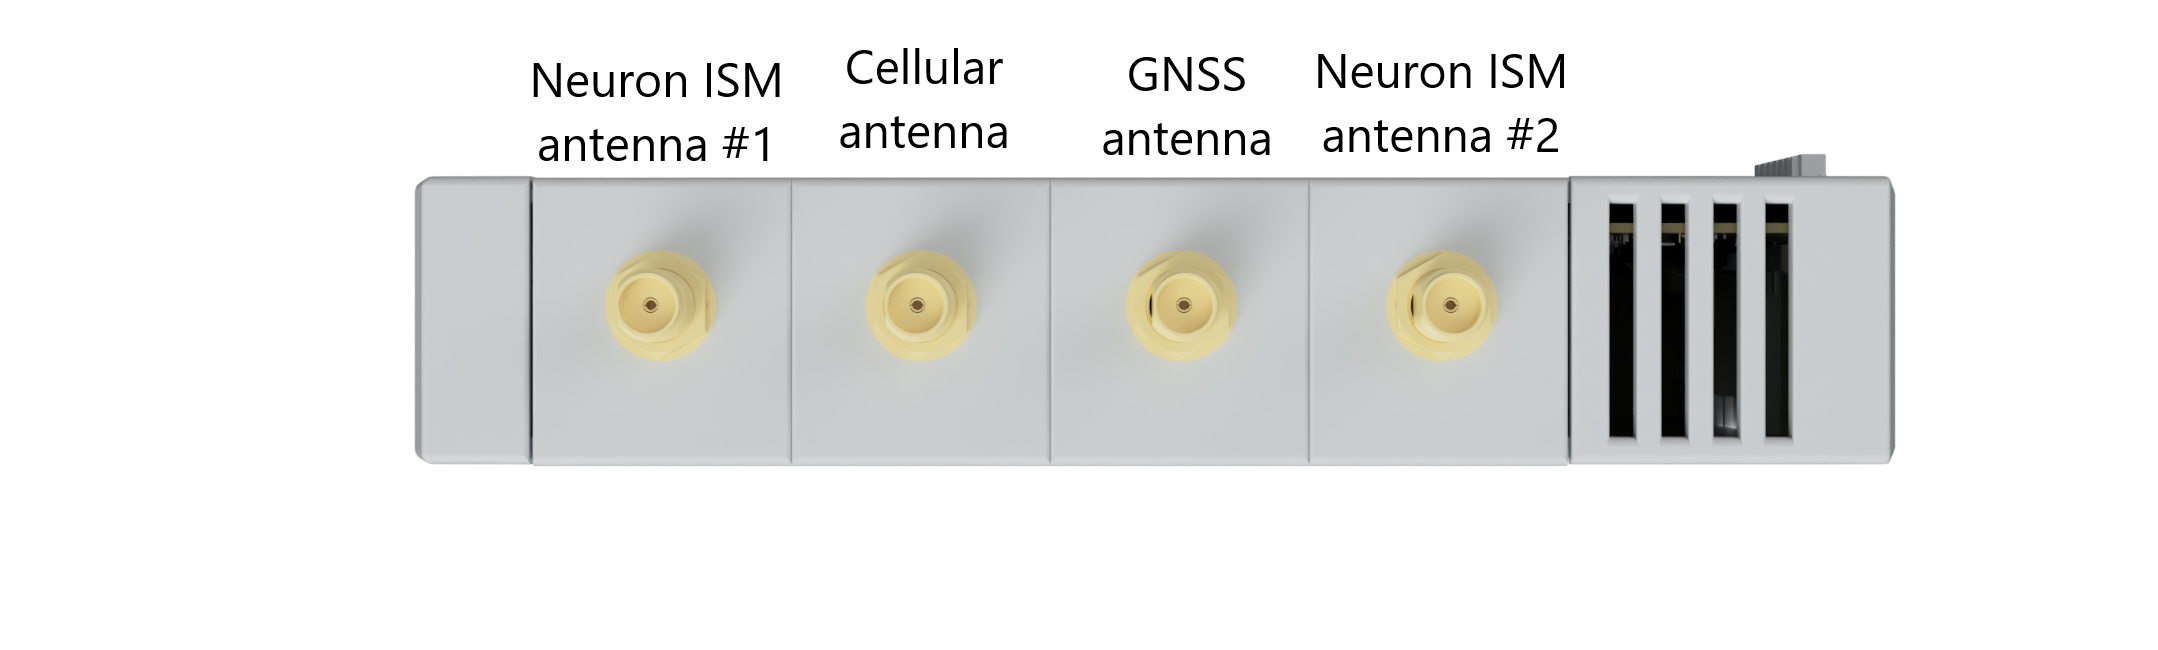
Antennas
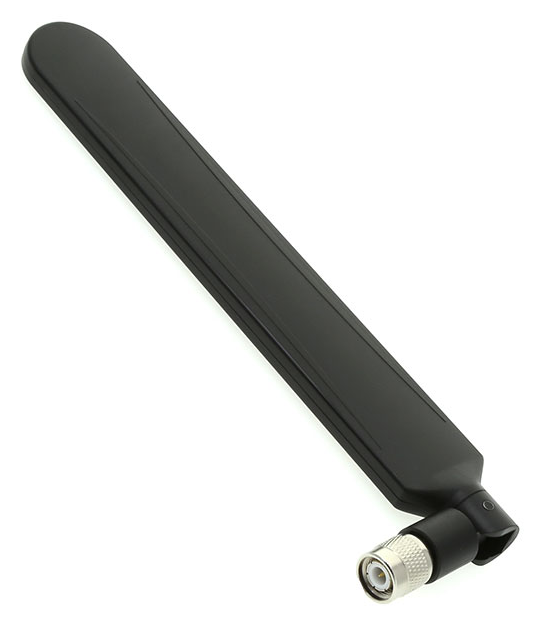
Connect the cellular antenna and both Neuron antennas. If the cabinet is made of metal, we recommend mounting the cellular antenna and at least one Neuron antenna on the outside of the cabinet. An optional GNSS / GPS antenna can also be mounted, but this feature has not yet been implemented in the Neuron app. The best place to mount a GPS antenna is outside, with an unobstructed view-of-the-sky. Connect the two Neuron antennas and the cellular antenna.
| Neuron antenna | Neuron antenna (magnet mount) | Cellular antenna |
|---|---|---|
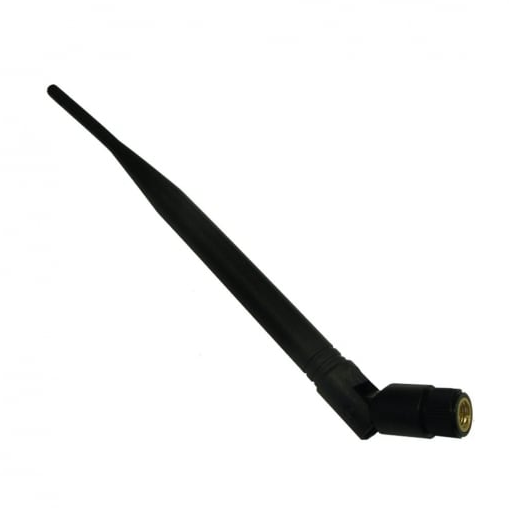 |
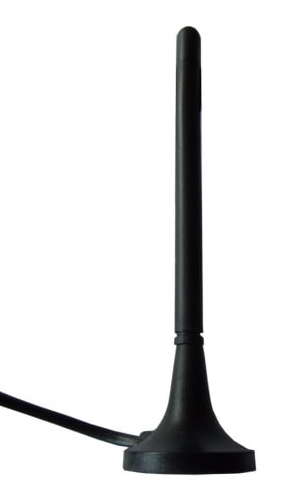 |
 |
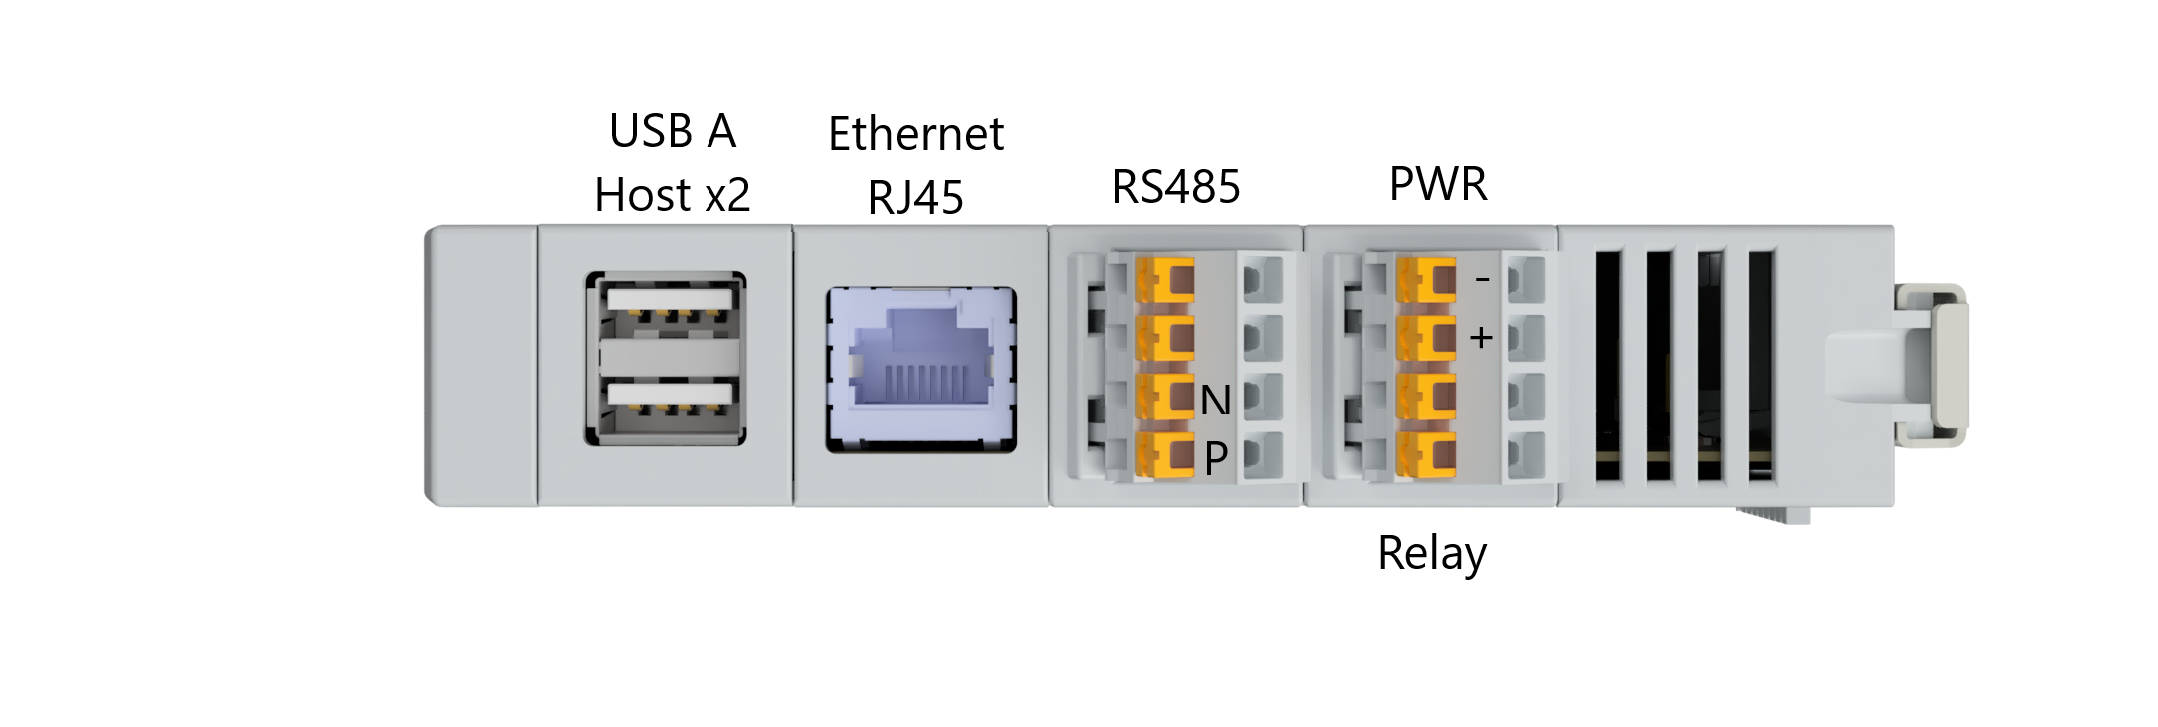
Connectors
Connect the ethernet cable and power to the other side of the gateway. The power supply must be 10 to 32-volt DC. The gateway also has a potential free relay output, an RS485 connector and 2 USB A host connectors. These are reserved for custom use cases. The RS485 connector is not mounted on all gateways.
Configuration
The gateway has a web interface for configuration. Open a browser and enter the gateway IP. Log in with the correct username and password. Default credentials is written on the side of the gateway.
The gateway IP address can be found in Neuron Cloud gateway details after gateway is added to a system.*
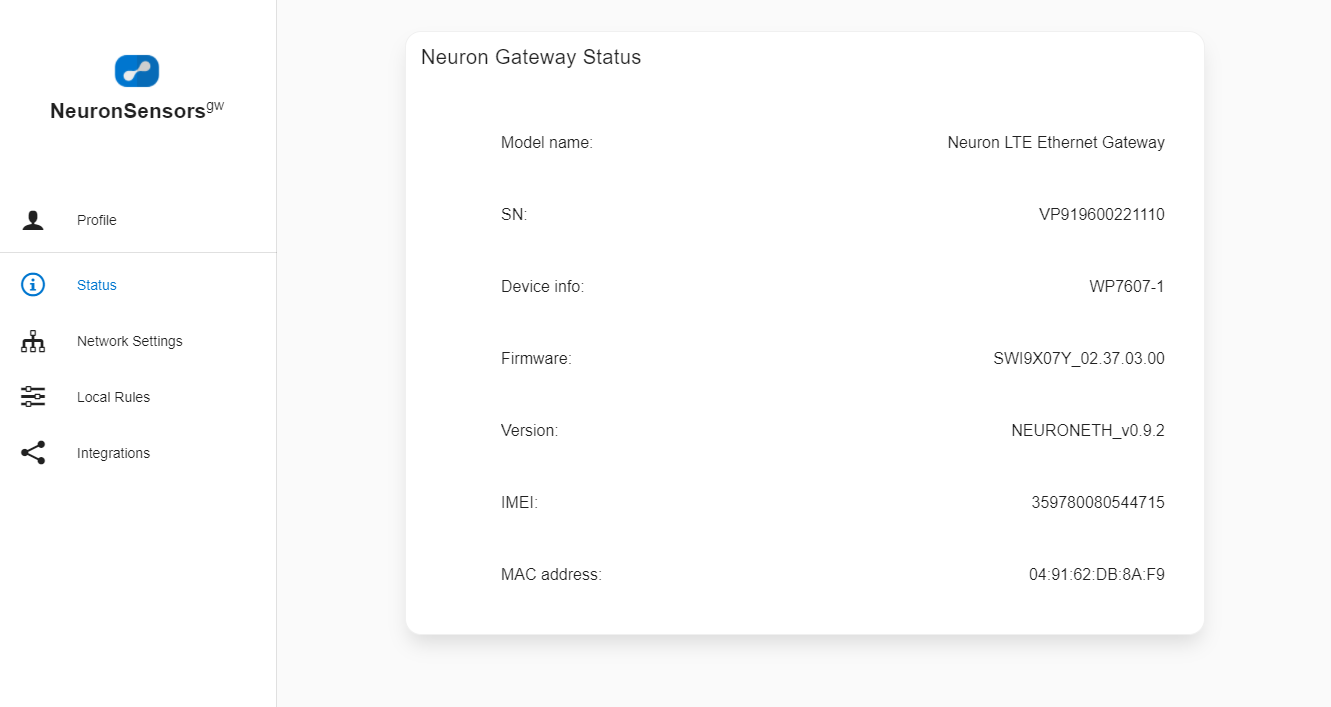
After login in you will be presented a status page with some basic information like serial number, version, imei and mac address.
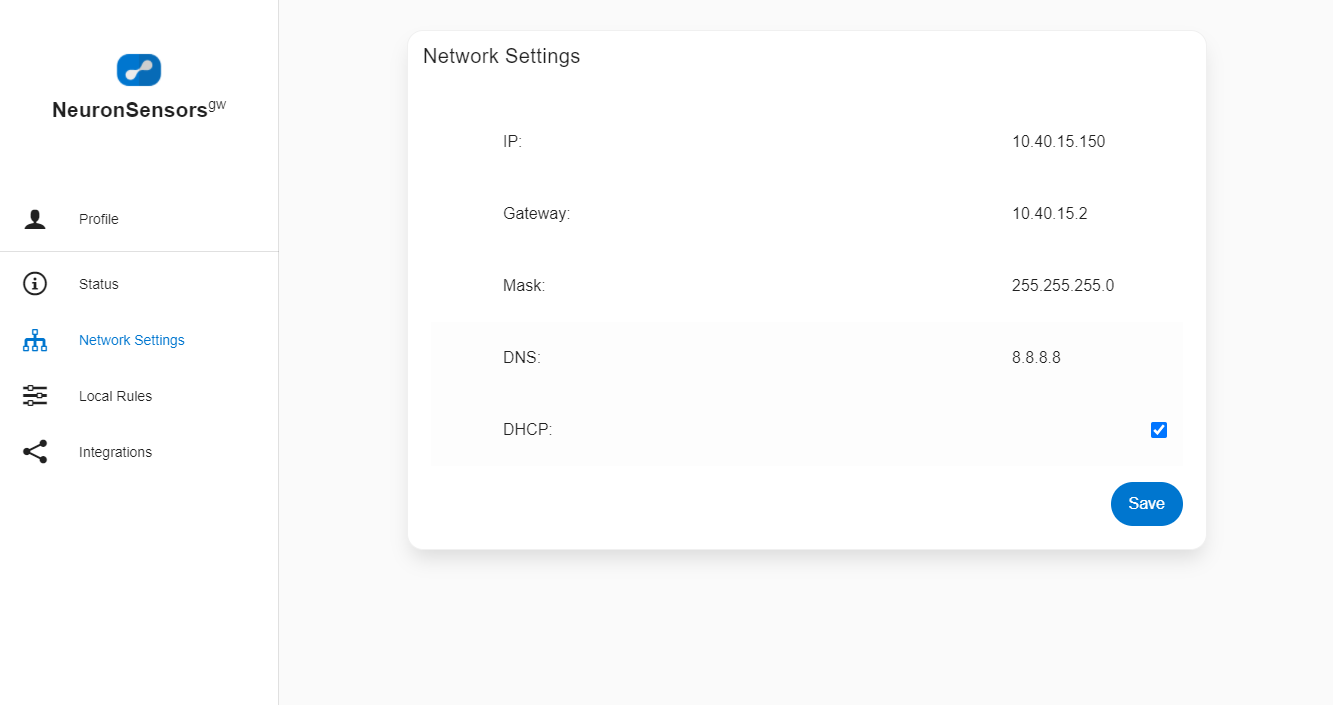
Go to network settings if you wish to set a static IP address or change the default network settings.
Go to profile to change the default password:
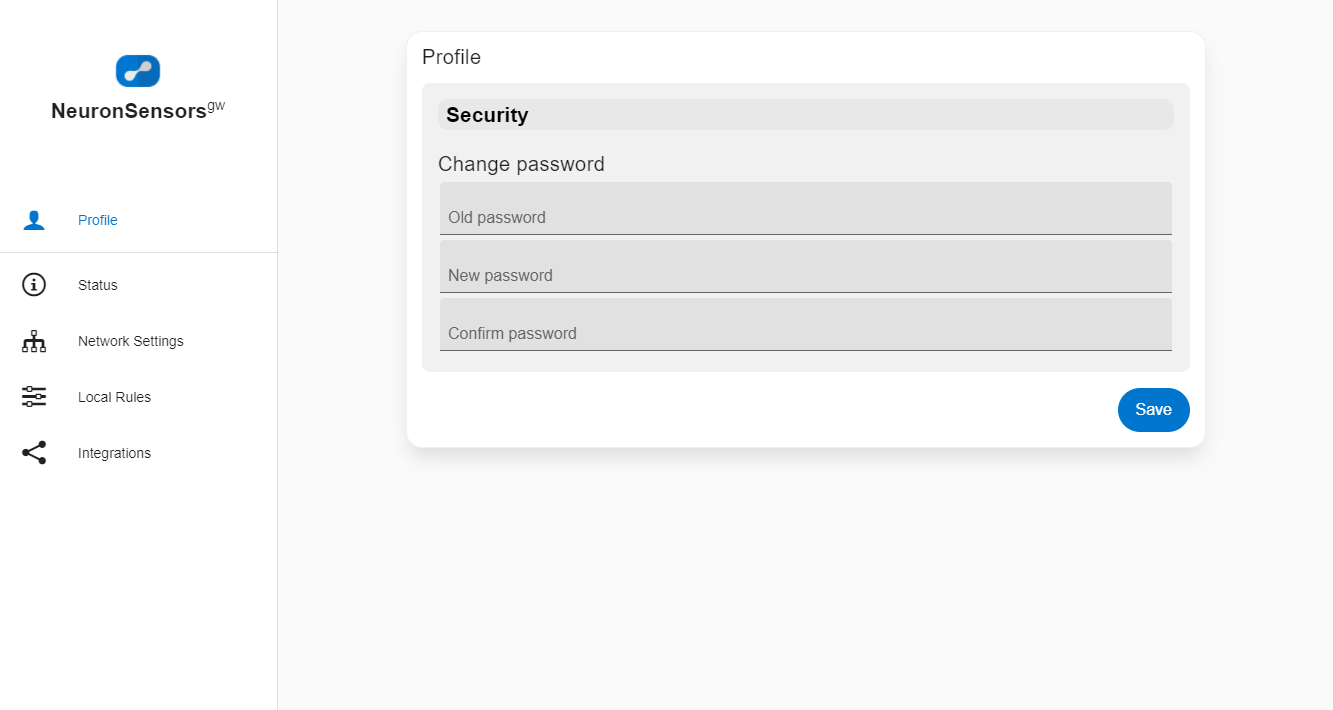
Password length must be at least 8 characters.
Local rules and Integrations are under development and work in progress.
If the WPA LED (yellow) continues to blink and the gateway does not appear online, it is likely due to corporate firewall restrictions.
Please verify the following with your IT team:
MQTT Access: Allow traffic to n8dd1f2a.emqx.cloud on port 8883 (TCP).
Connectivity Heartbeat: Ensure the gateway is allowed to send ICMP (Ping) requests to external DNS servers (like 8.8.8.8 or 1.1.1.1). The gateway uses these pings to verify internet availability before establishing a secure connection.